Learn how to use Jazva’s native iOS app for inventory management.
Contents:
Overview
Jazva Mobile makes it easy to manage inventory from any warehouse. As a barcode scanning application, it not only improves inventory and fulfillment handling speed, but it also minimizes errors. The app is tied to your Jazva account on desktop, so multiple users can access the backend system at the same time.
Since the app is currently in beta, functionality and design may change periodically. Contact your Jazva account manager if you would like to enroll in the program.
The app’s features are currently limited to:
- Receiving Inventory
- Shipping Batches
- Counting Inventory
- Moving Inventory
Many of these modules work the same way as Jazva on desktop.
Compatible Devices & Recommended Equipment
- iOS version 9.x.x and up
- iPod touch 5th Generation + Honeywell Captuvo SL22*
- iPad mini + Honeywell Captuvo SL62*
* When purchasing the Honeywell sled, make sure it includes the built-in barcode scanner. Some models of the SL22 and SL62 also include a built-in card reader. These models will still work with the iPod touch/iPad mini and the Jazva Mobile App, so long as they include the barcode scanner, but please note, the card reader serves no function in the Jazva app at this time.
Accessing the App
- To get started with the program, you will need to provide your email, first name and last name to your Jazva account manager.
- We will then send you an invite to download Apple’s TestFlight iOS app.
- Once you accept the invitation, we will send another invite to download the Jazva Mobile application.
- You should then be able to download the beta application from the TestFlight iOS app.
- Open the Jazva Mobile app and enter your Jazva instance URL (For example: storename.jazva.com).
- Log into your account using the same credentials use on your desktop.
Navigation
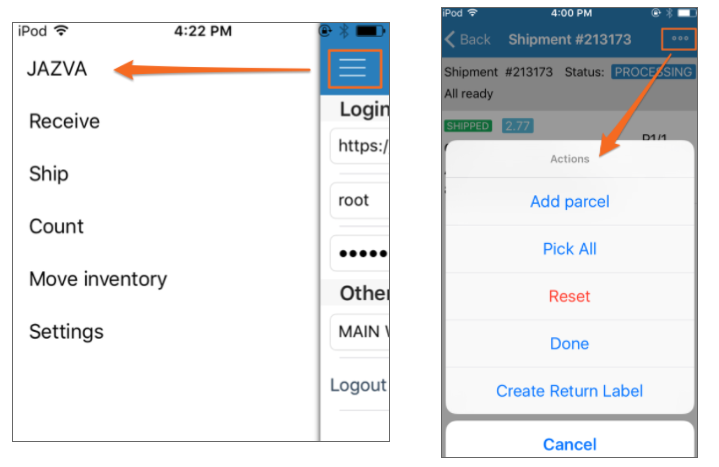
- The main menu acts like the left navigational sidebar similar to Jazva on desktop. Click the hamburger icon to access the main menu.
- You can swipe left and right to see the full interface or main menu.
- The ... icon on the top right will open up the action buttons menu relevant to each screen.
- To log out, go to Settings from the main menu and select Logout.

Warehouse Setup
The Jazva Mobile app will need to be tied to an internal facility. By default, you will be assigned to the warehouse designated to your user account in the Jazva backend.
- To change the default warehouse in Jazva Mobile, select main menu > Settings.
- Select Other Settings > Warehouse Name. A list of available internal warehouses will appear.
- Select the warehouse desired, and click Done
- Tap Save to complete.
Inventory Receiving
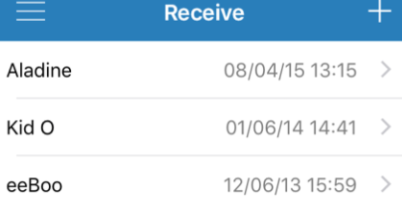
- From the main menu, tap Receive to load existing shipments.
- Select a Vendor. It will show you the PO(s) associated with the shipment.
- Auto-print labels - gives you the option to print labels as you scan, if connected to a printer.
- You can also click + to add a new shipment.

- Tap Continue Receiving when ready to scan.

- Start receiving your shipment:
- Physically scan the item barcode as you receive each item.
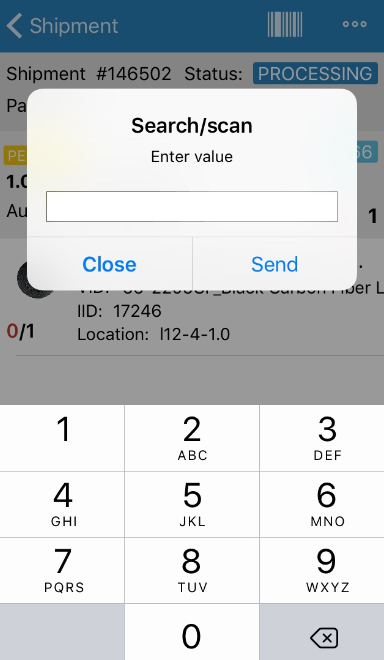
- Alternatively, you can type in the ID/SKU/UPC in the Scan field and click Send.
- Click Finish Receiving to complete.
Shipping & Order Processing
Before diving in, let’s get acquainted with the Ship screen. From the main menu, tap Ship.
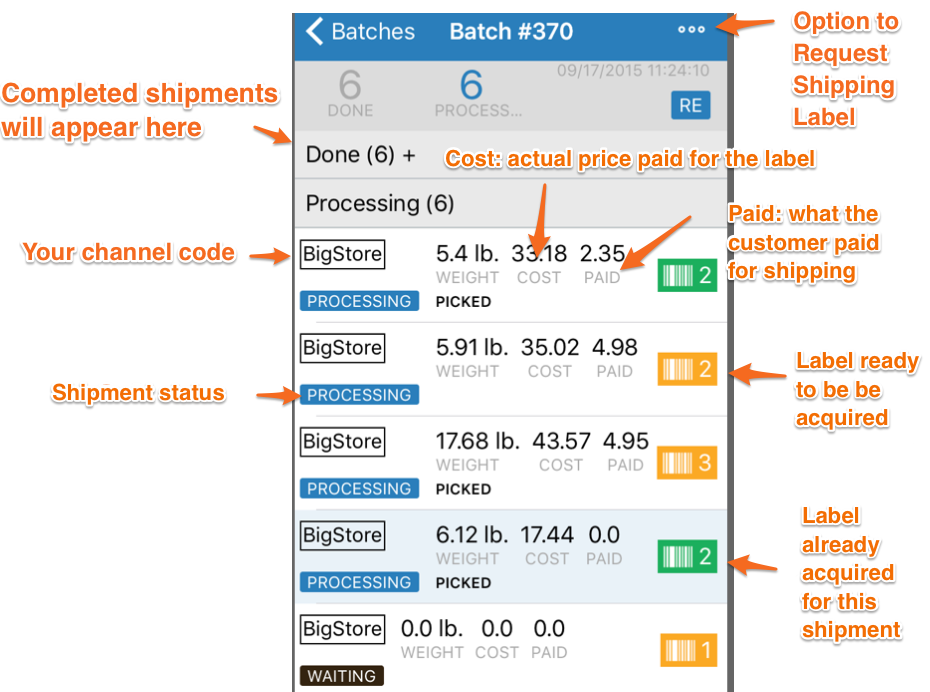
A list of batches will appear on the screen. The very top will show you the number of pending and processing shipments.
Refer to these images for information:


More on barcode icon colors:
- If the barcode icon is yellow - good to go; a shipping label can be acquired.
- If the barcode button is red - there’s an issue when trying to acquire the label, such as an address verification issue.
- If the barcode icon is green - a label has been already been acquired or purchased.
- If the barcode icon is white - when the entire order has been marked as shipped, the icon turns white.
Creating a New Batch
You can create a new batch based on all pending invoices.
- From the main menu, tap Ship.
- Click New Batch from the top right of the Batches screen.
- Select a channel or leave default as All Channels.
- Your new batch will appear on the topmost row of the Ship screen.
How to Pick, Pack & Ship an Order
- From the main menu, tap Ship.
- Select an existing batch.
- Select a shipment.
- Pick all items in that parcel. You can either scan individual barcodes, or enter the SKU manually in the barcode field.

- Once you have finished picking, select the ... icon and click Finish Picking.
- Click Process Label to ship the order.
- Once shipped, click ... icon and click Done.
Counting Inventory
- Form the main menu, tap Count.
- Go to the first bin that you are counting and scan the location label.
- You can either scan the location with the app,
- or type the location in the Scan field.
- Remove all of the items from that bin
- Scan each item in that bin:
- You can either scan the item barcode individually,
- or type in the ID/SKU/UPC in the Scan field and click Send.
- You may also adjust qualities as needed in the box.

- To complete updating the bin, click the ... icon and tap Finish.
- Note: after scanning each individual item, scanning the location label of the next bin to be counted will automatically submit the counts from the previous bin.
- Place the items back into the bin.
Moving Inventory
- From the main menu, tap Move Inventory.
- To start moving your inventory, scan or type the location FROM where you are moving the inventory from (original location).
- Scan items to be moved:
- You can also update quantities as needed by tapping on individual items.
- To move all existing inventory from the original location, select the ... icon and tap Move All.
- To reset the entire process, select the ... icon and tap Reset.
- Scan the destination location to complete the transfer.


Comments
0 comments
Article is closed for comments.