Learn how to enable Seller Fulfilled Prime in Jazva.
Contents:
- Overview
- Getting Started with Amazon's SFP Program
- Creating a New Amazon Shipping Carrier in Jazva
- Setting a Product as Seller Fulfilled Prime
- Processing Prime Orders
- How to Handle Prime Orders Fulfilled with Non-Amazon Labels
Overview
Seller Fulfilled Prime (SFP) lets sellers fulfill orders with the same benefits of Amazon Prime, namely, branding their product listings as eligible for Prime’s two-day delivery service. Prime subscribers spend an average of $1200 annually with Amazon, compared to $700 for those without Prime.
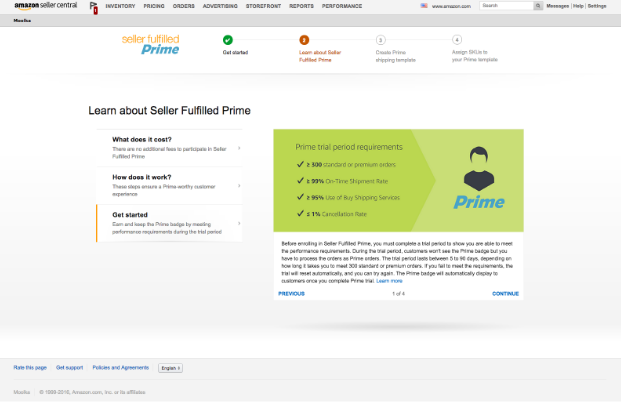
Before enrolling in SFP, you must complete a trial period to show that you are able to meet the requirements for Prime fulfillment excellence and customer satisfaction. The Prime badge will not be displayed on your items during the trial period.
Once your products are designated as Prime-eligible on Amazon, you will then be able to process SFP orders through Jazva.
Getting Started with Amazon’s SFP Program
- Register for Seller Fulfilled Prime to complete the trial period.
- Go through Amazon’s “Learn About Seller Fulfilled Prime” tutorial wizard (required).
- Once you have successfully enrolled into the SFP program, you will need to review and accept Amazon’s Terms & Conditions. Confirm and Proceed.
- If you are using the old shipping settings, you must migrate to the new shipping settings that meet the Prime program’s requirements. Skip to step 8 if you have already migrated to the new settings.
- From Amazon Seller Central, navigate to Settings > Shipping Settings.
- Please note that after performing this migration, you will not be able to send override feeds for this Seller Central account.
- Click Start Migration when ready.
- Review and activate your new shipping settings.
- After the migration, create a template for your Prime trial by clicking Create New Template from your shipping settings page. You now have a Prime template.
- On the new template, check Prime Settings and then click Add New Prime Regions. You should enable Prime for any regions where you would like Prime badging to display.
- You can apply changes to the shipping template as needed, granted that they remain compliant with the Prime program’s requirements.
- Complete the Prime trial period requirements.

Creating a New Amazon Shipping Carrier in Jazva
Return to Jazva to set up Amazon as a shipping carrier.
- From the main menu, navigate to Setup > Shipping and select Carriers.
- Select +Add Carrier and select Amazon from the list.
You will now be able to fulfill orders using Amazon carriers directly from Jazva. There is no additional configuration needed for the carrier as it will sync with Amazon’s settings.
If you need additional information on how to add or edit carriers, you may visit Setting Up Your Carriers.
Setting a Product as Seller-Fulfilled Prime
For a listing to appear with the Prime badge, the product must use an Amazon shipping template that is Prime Eligible.
- Open an existing product you want to list as Prime Eligible.
- Scroll down to the Sales Channels section and click the Amazon channel to open the Mapping window.
- In the Prime Shipping Template drop-down, select Add New and enter the name of the Amazon Shipping Template you would like to set for the product. It’s important to type its name exactly as it is written in Seller Central.
- Once you’ve added a template, you will not have to add it again. It will now be available from this drop-down even for other products.
- Click Save Changes.
- Your changes will be published to Amazon on the next periodic update.
Note: Amazon Shipping Templates must be created in Amazon Seller Central. Once created, take note of the shipping template so that you may use them in Jazva.
This functionality is also not applicable for grandfathered listings. To sell grandfathered products as Prime, you must change their shipping templates on Amazon Seller Central directly.
Processing Prime Orders
Amazon requires that Seller Fulfilled Prime orders are shipped out using their partnered shipping carriers to ensure that parcels are sent out within Prime commitments.
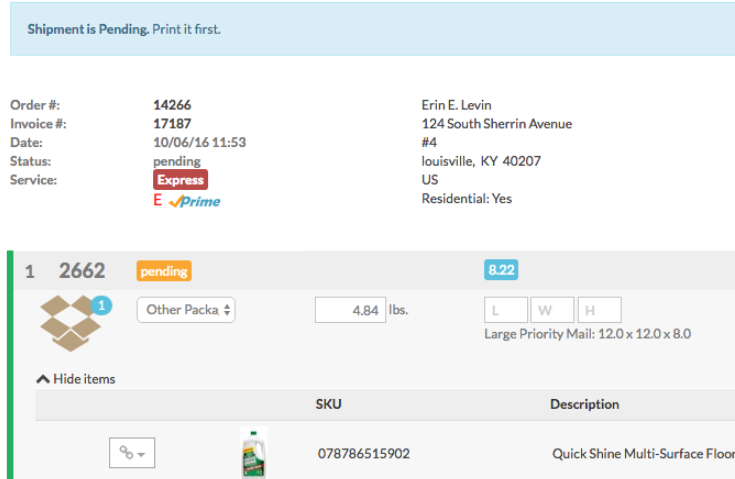
Prime orders can be identified with the prime logo (![]() ) from the order search. In the shipping page, their Service type will also show the prime logo.
) from the order search. In the shipping page, their Service type will also show the prime logo.
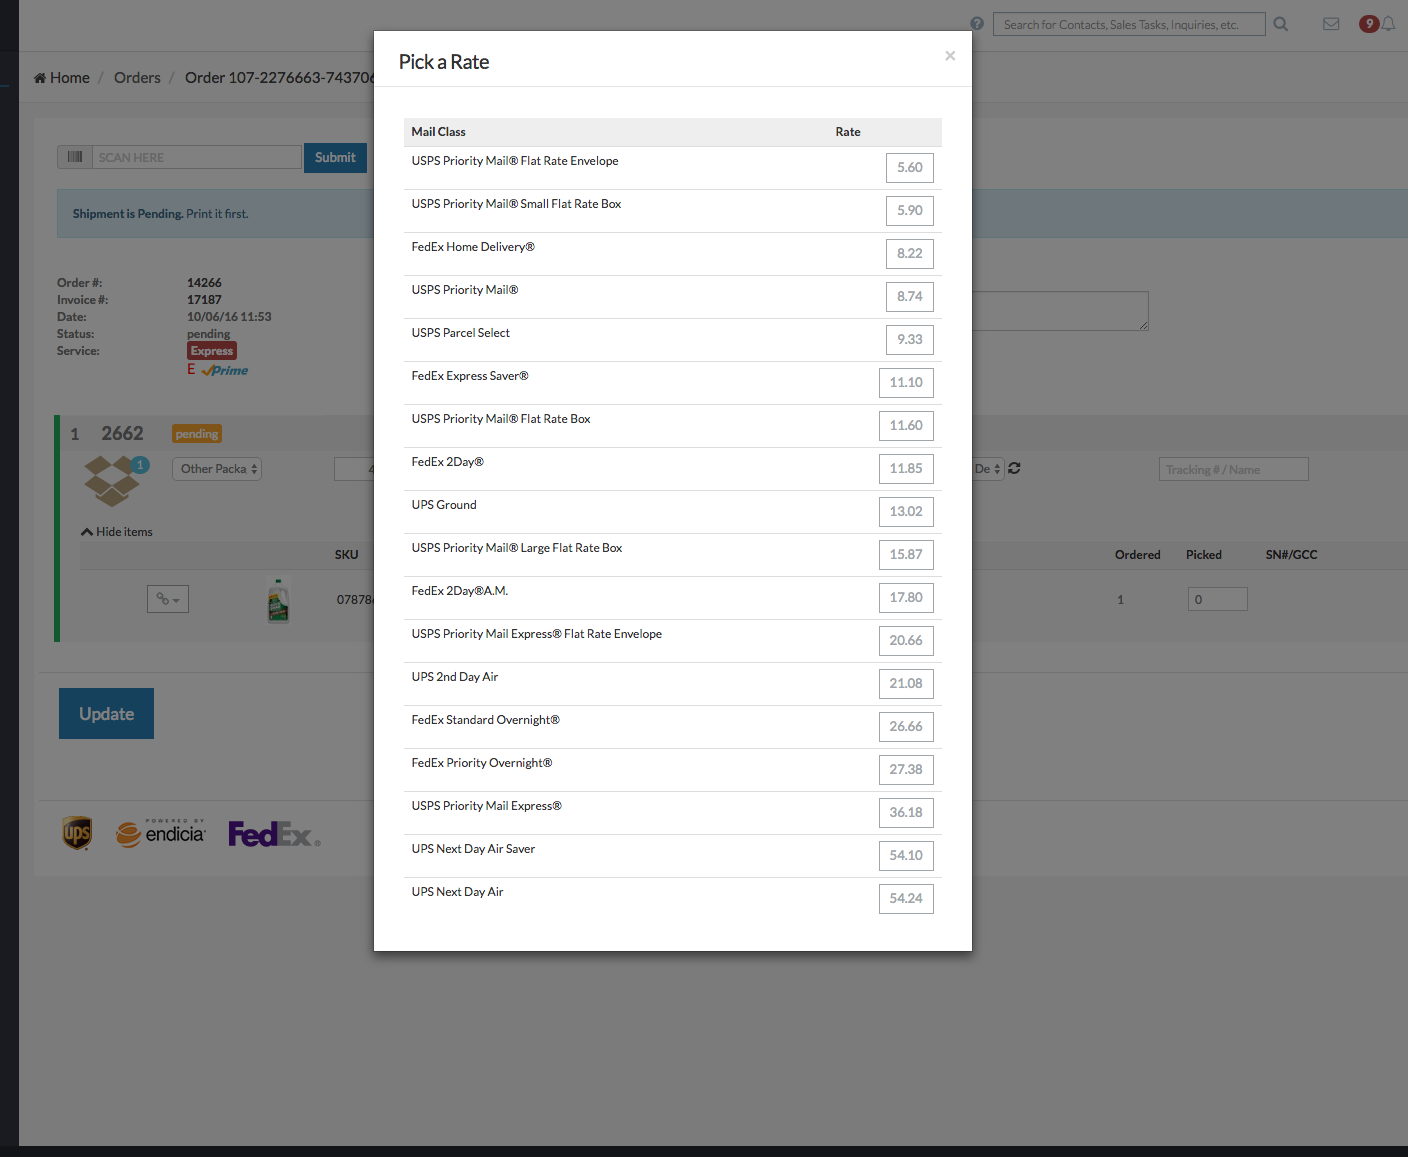
The orders will have the Amazon Partnered Carrier and the most suitable mail class set by default. However you may still change the mail class by clicking the REFRESH icon and selecting a rate from the dialog box that displays the other mailing options offered by Amazon.

From there, you will just need to pick and pack the order as usual and then generate the label.
To learn more about the shipping process, please visit How to Pick Pack Ship Orders.

How to Handle Prime Orders Fulfilled with Non-Amazon Labels
Amazon requires all Prime orders to be shipped by an Amazon Partnered carrier (Amazon Ship Service). If a Prime order was fulfilled using non-AP service, the tracking number can be added manually on Seller Central. Unfortunately, an automated API fulfillment within Jazva is not allowed at this time.
- First, go to Seller Central and open the list of unshipped Prime orders. Do not open the actual order. You cannot mark a Prime order as fulfilled from its order page; it needs to be done from the order list page.
- Locate the order you wish to mark as fulfilled, and tick the checkbox on the left of that order.
- From the action dropdown for these checkboxes, choose Add Fulfillment.
- On that screen, you should be able to add the tracking number for that Prime order.
Please note that orders that are suggested as combined in Jazva cannot be shipped as combined if it is a Prime order. These orders cannot be shipped because of the fulfillment feed to Amazon.
You may be able to combine the shipments together and update the tracking number manually, Alternatively, you could simply obtain two separate labels.
Related Articles

Comments
0 comments
Article is closed for comments.